
Accessibility has been an important and ongoing discussion as users advocate for more options to help them understand each other in online environments.
Zoom, a leading video conferencing app, took a significant step by adding closed captioning and live transcription to its service. These features drastically improve accessibility for deaf, blind, or hard-of-hearing participants and communication with non-native English speakers.
Table of ContentsIt’s now easier to understand what someone in the same Zoom meeting is saying and respond to them while making everyone feel included.
This guide explains how you can enable closed captioning and live transcription in Zoom.
As the host/co-host of the meeting or webinar, you can provide closed captions through manual or third-party methods for all participants. However, for a webinar, only the host/panelist can provide manual captioning.
If you can’t provide closed captioning, you can use live transcription. However, the latter has its limitations. For example, it only works in English, and its accuracy is affected by:

Note: The live transcription feature isn’t available to every Zoom user just yet. You’ll need to complete a request form and then wait for an email with instructions on enabling live transcription.
You can provide closed captions for three different types of users in your Zoom account:
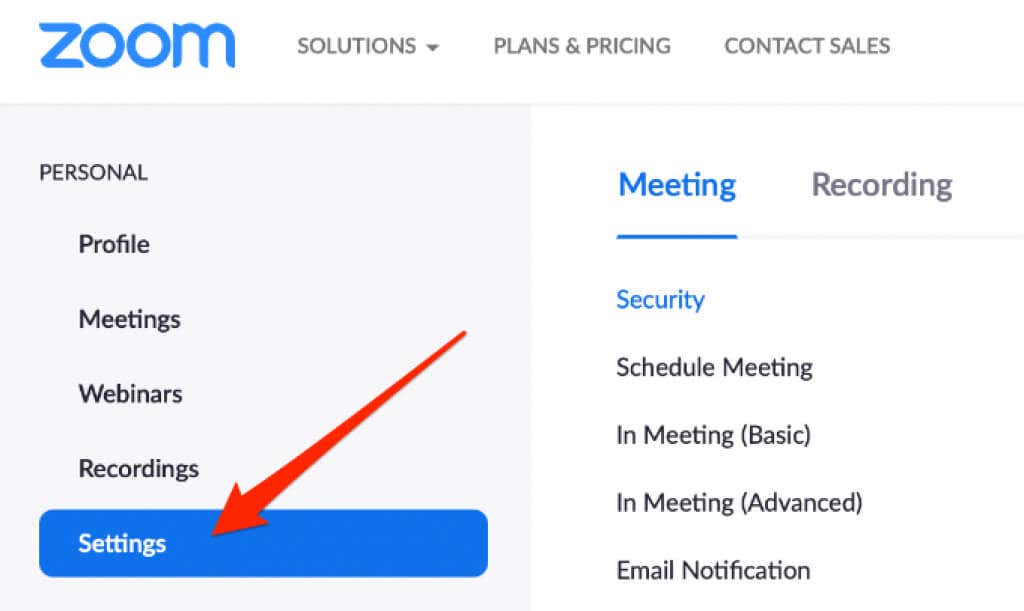
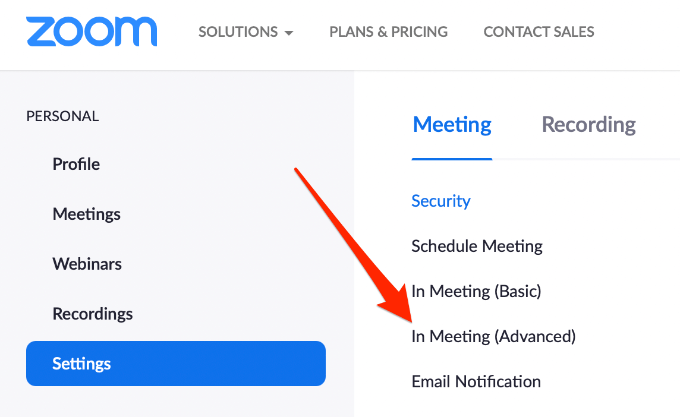
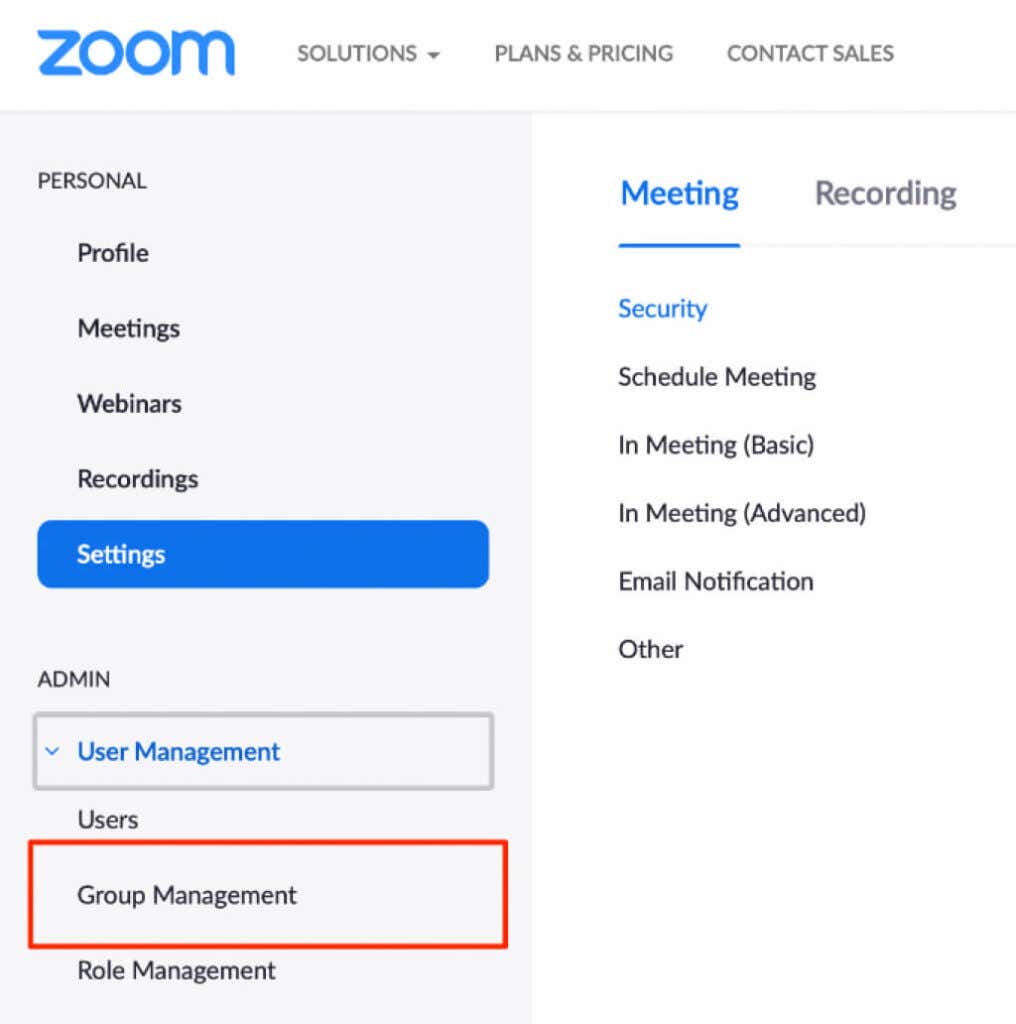
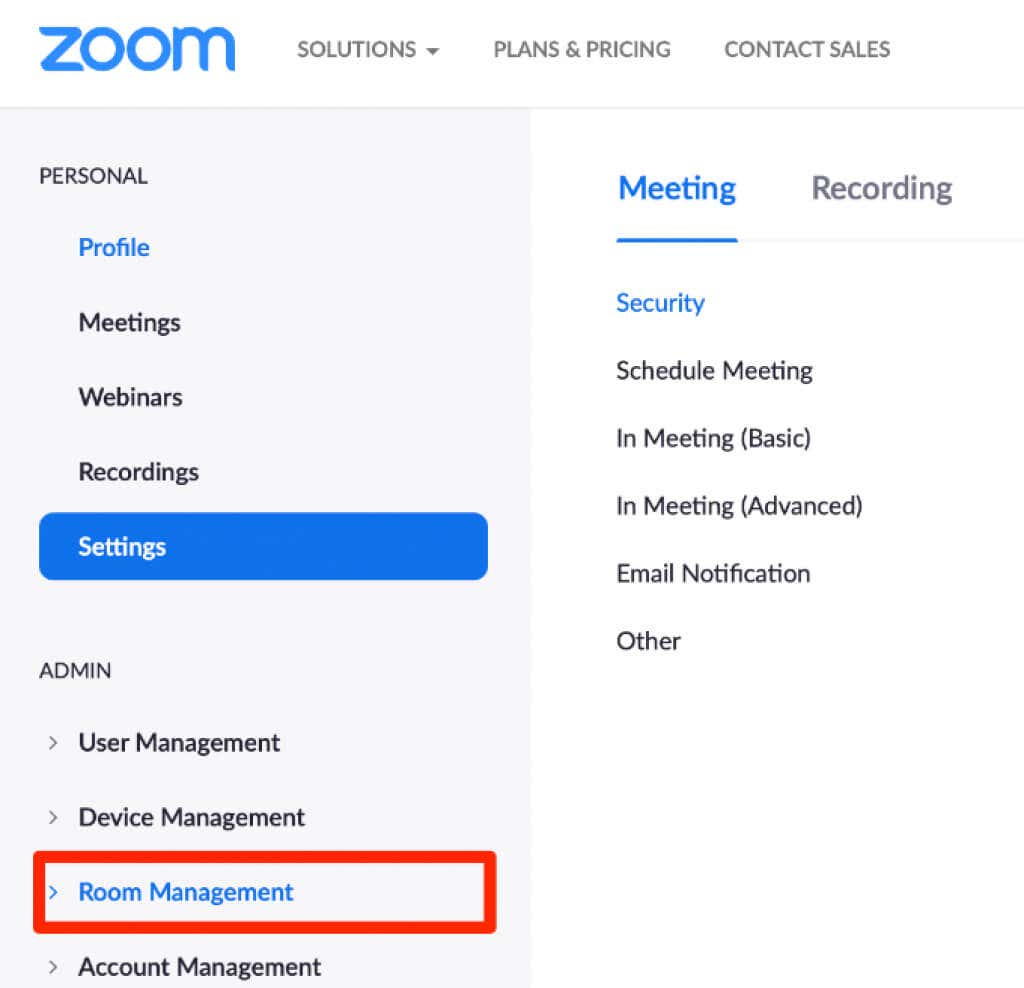
You can enable closed captions in Zoom for your use.

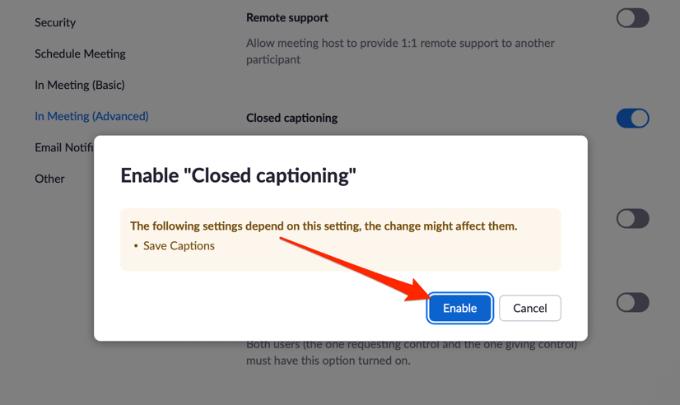
Note: If the Closed Captioning option is grayed out, it means the feature has been locked at account or group level. Request your Zoom administrator to enable the feature for you.
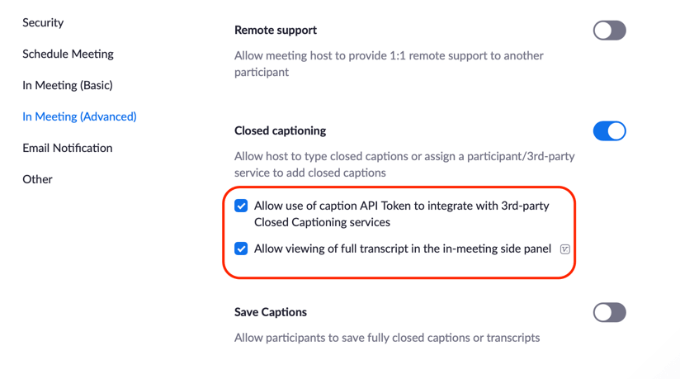
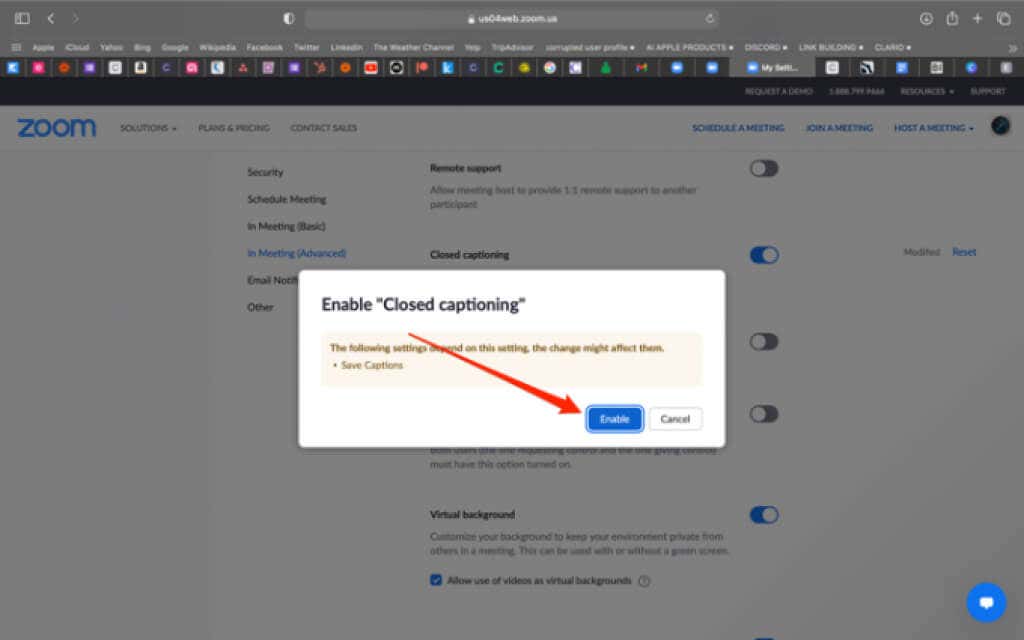
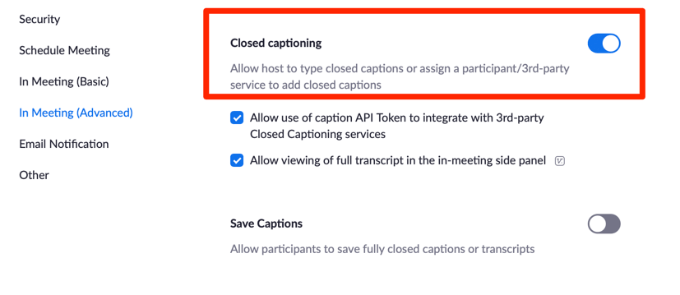
With Closed Captioning enabled, you can opt to allow other features such as:
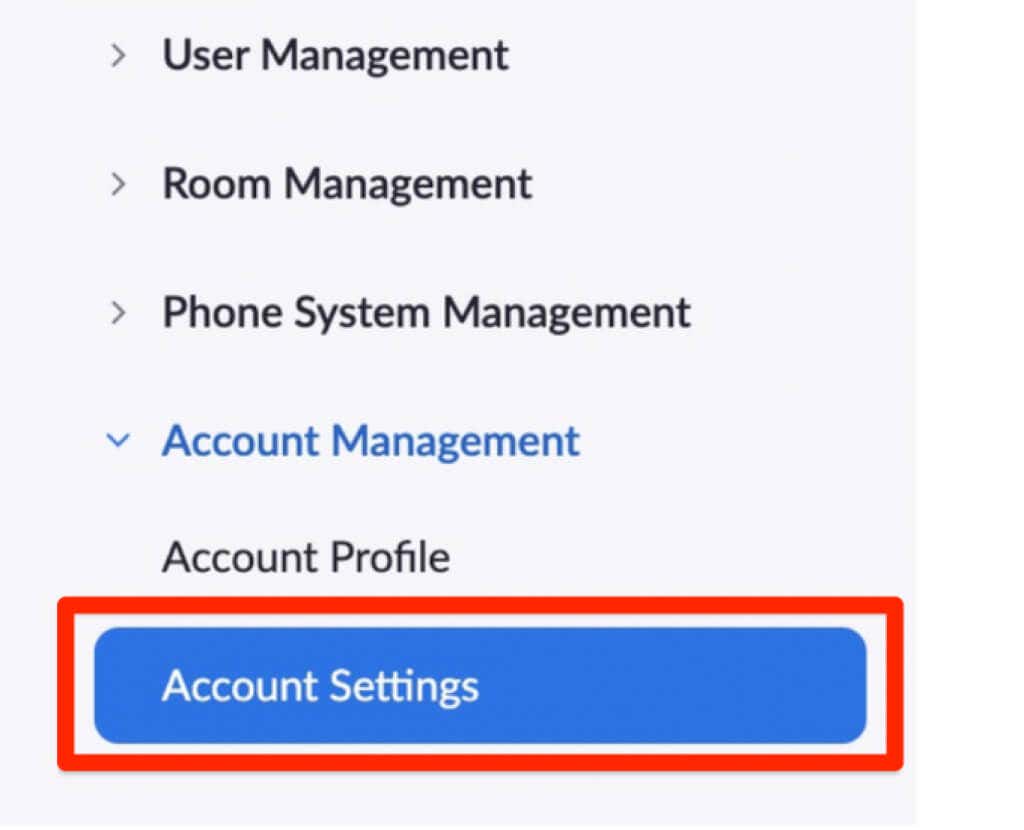
You can also provide Closed Captioning for users in a group so they can see the captions during the Zoom meeting.


You can allow all participants in your Zoom account to access and use the Closed Captioning feature during the Zoom meeting.


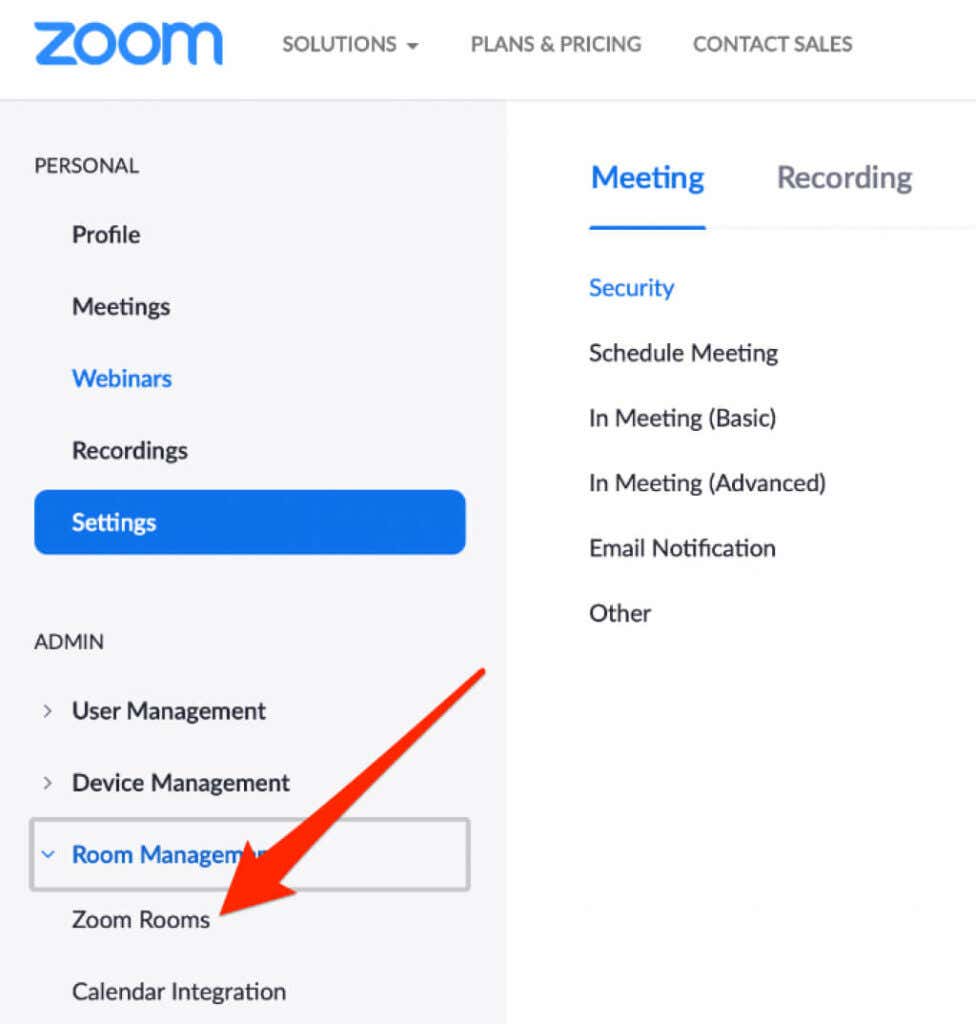
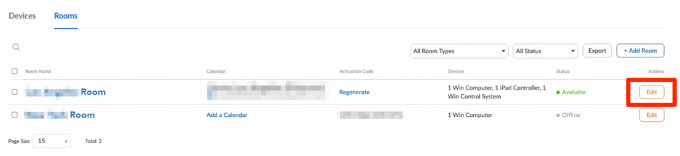
Zoom Rooms shouldn’t be confused with Zoom breakout rooms. The latter are sessions split off from the main Zoom meeting.
On the other hand, Zoom Rooms is a digital setup that connects people in a physical space with others working remotely to hold virtual meetings.

With the Closed Captioning and Live Transcription features enabled in Zoom, you can now use the features during the webinar or meeting.
![]()
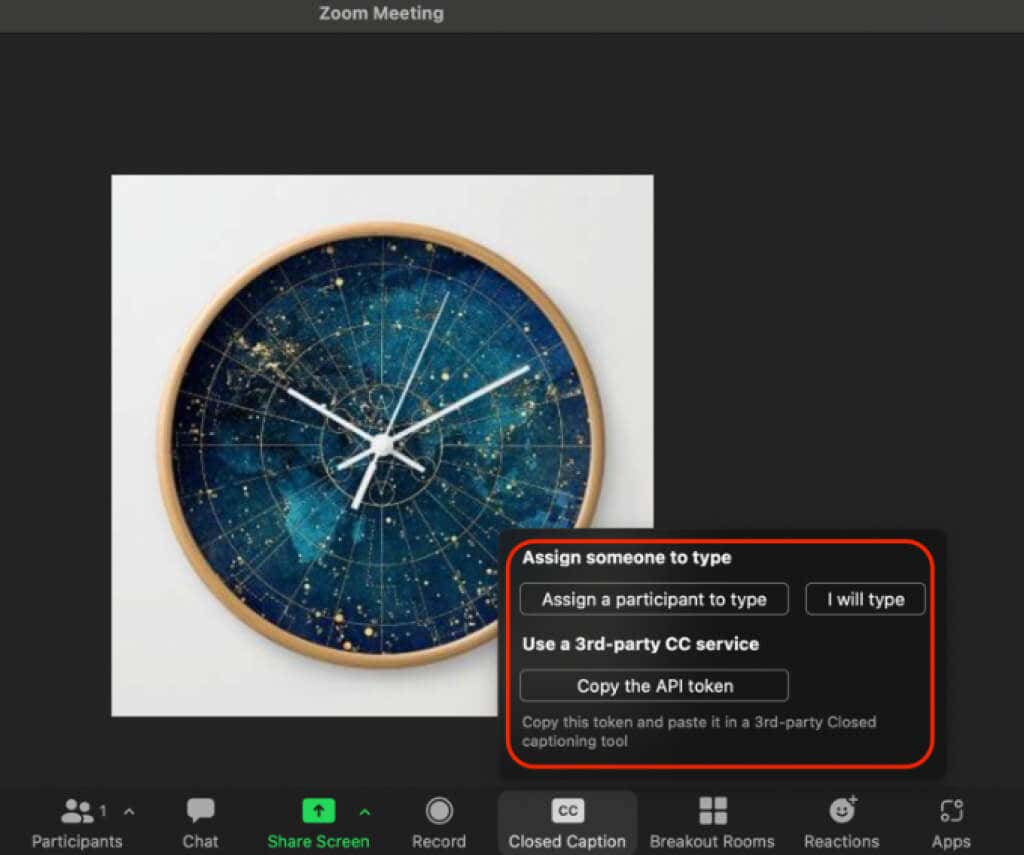
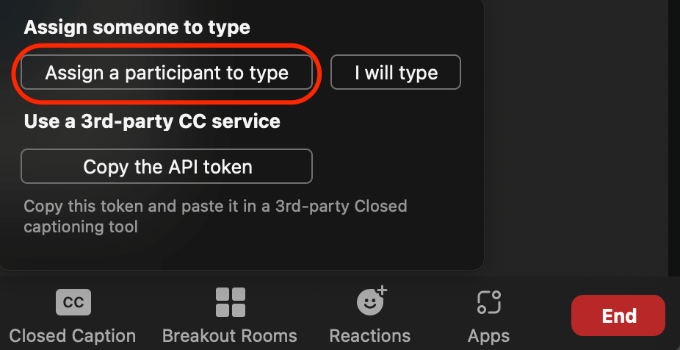
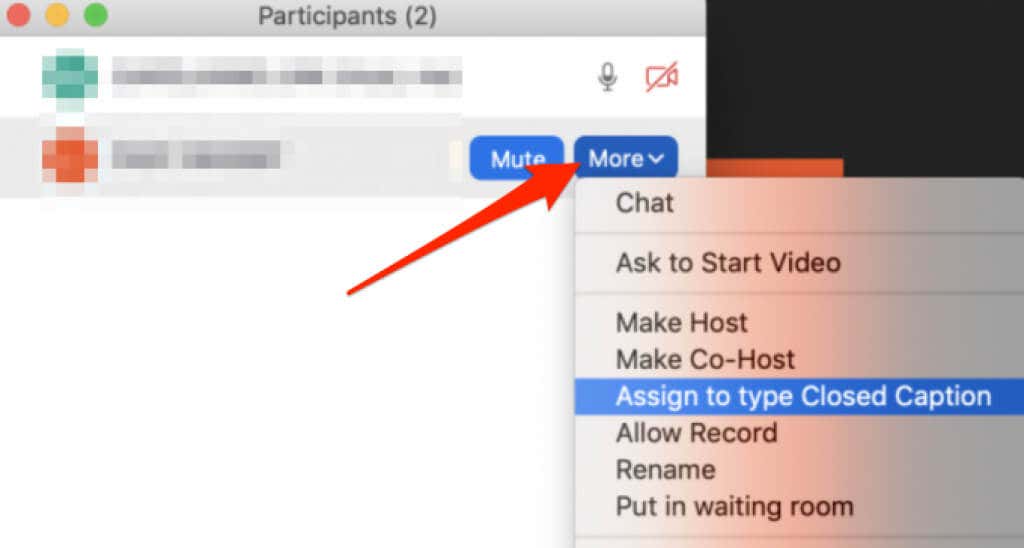
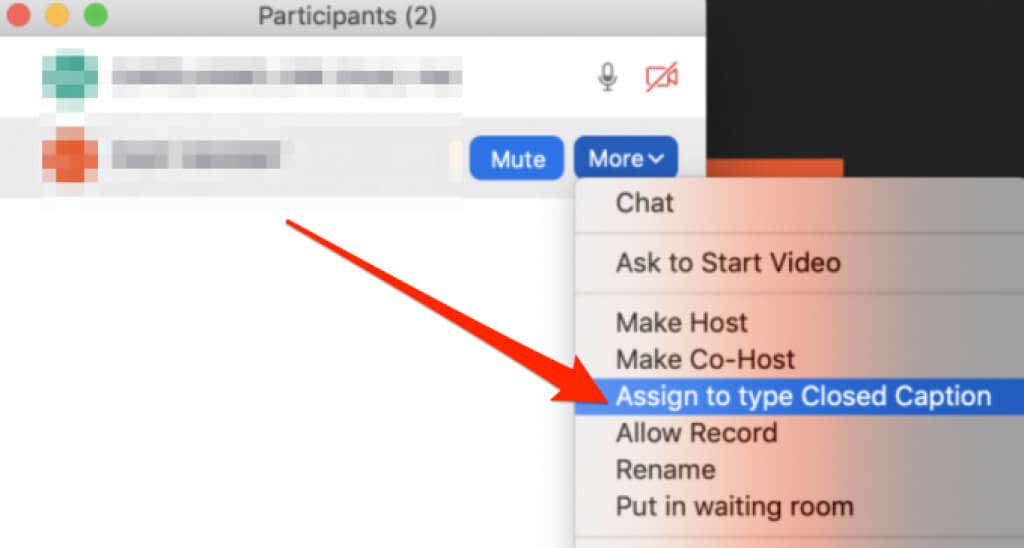
If you don’t want to type the meeting captions yourself, you can choose a participant to do it.
You can assign only one participant as the captioner, but you have to do this before opening the breakout rooms. Consequently, only one breakout room session can have the closed captions.
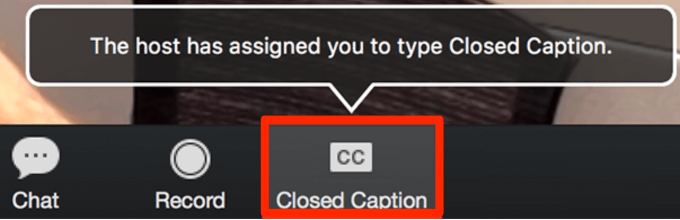
Once you’ve assigned a captioner, open the breakout rooms and move the captioner to a breakout room. The captioner can select the Closed Captions icon in the breakout room and start typing the captions.
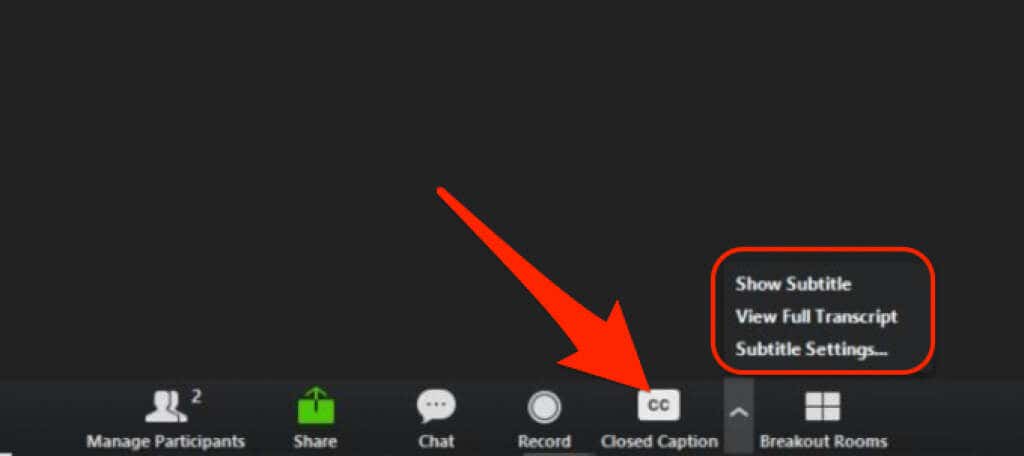
The participants in that breakout room can select the Closed Caption icon and then choose Show Subtitle or View Full Transcript to view the closed captions.
When the captioner and all other participants return to the main Zoom meeting from the breakout rooms, they’ll have to repeat the same steps to type the captions and view subtitles or transcript, respectively.
Note: The Live Transcription feature isn’t available for Zoom breakout rooms. The meeting host can use a captioning service to provide closed captions in breakout rooms.
Since the global pandemic began, remote webinars, meetings, and video conferencing have become popular among individuals and groups.
Zoom’s closed captions and live transcription features provide digital accessibility for all meeting participants and ensure everyone feels included.
Was this guide helpful? Share with us in a comment below.
Elsie is a technology writer and editor with a special focus on Windows, Android and iOS. She writes about software, electronics and other tech subjects, her ultimate goal being to help people out with useful solutions to their daily tech issues in a simple, straightforward and unbiased style. She has a BCom degree in Marketing and currently pursuing her Masters in Communications and New Media. Read Elsie's Full Bio